Homemade Single-Fold Vanilla Extract
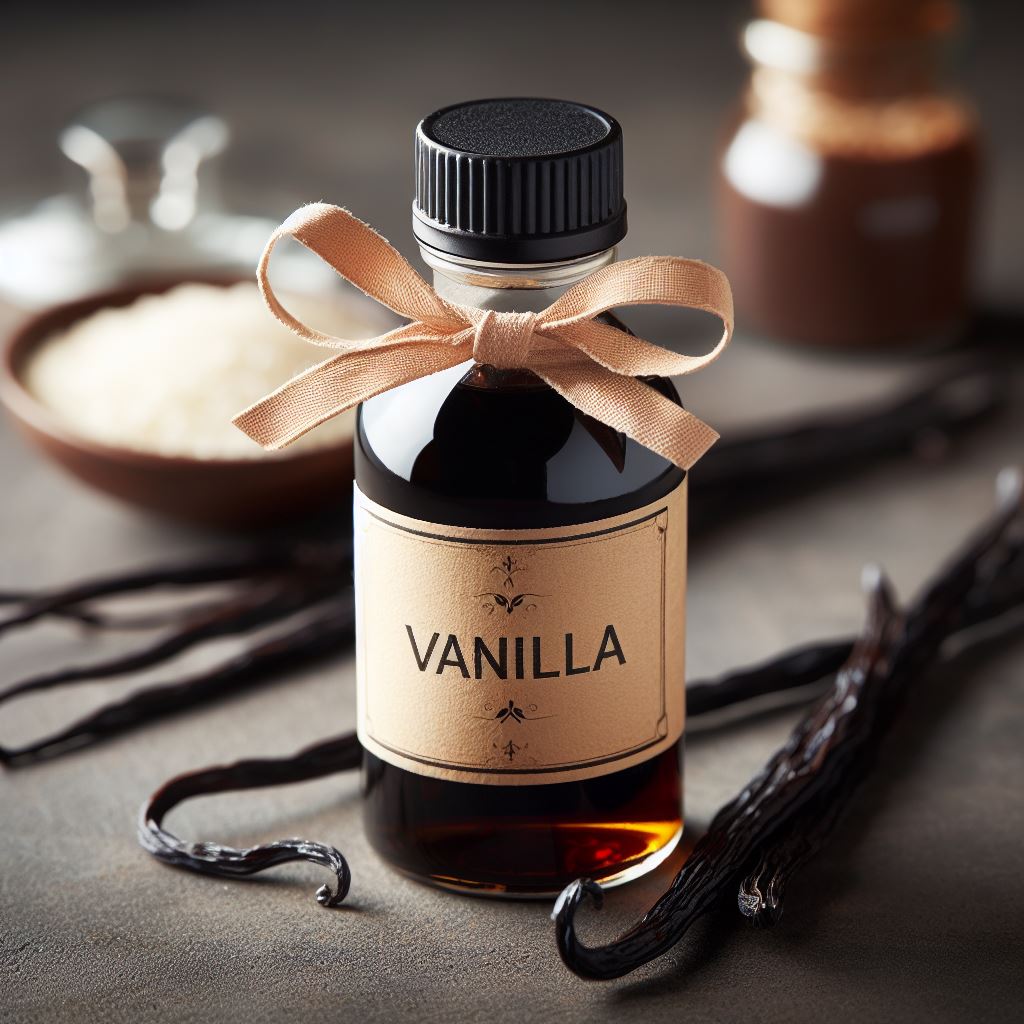
My interest in making vanilla extract started in October of 2022, when I stumbled upon a post in one of my various Facebook groups. There had been comments talking about making your own homemade vanilla extract. This concept was foreign to me but sounded very exciting to learn about so naturally I searched out the recommended group and joined, eager to learn all I could about this well-loved pantry staple that I could now make from home. Let’s just say, this is the beginning of what is commonly referred to as “falling down the rabbit hole”. So if you see yourself falling into yet another endless hole among probably all the too-many-other-interests you have, you may just want to turn back now, trust me…but really, don’t. As a vanilla addict, if there is an endless hole to fall down into, this would be my choice since it’ll open doors to so many possibilities and other extracts you didn’t know you could make at home.
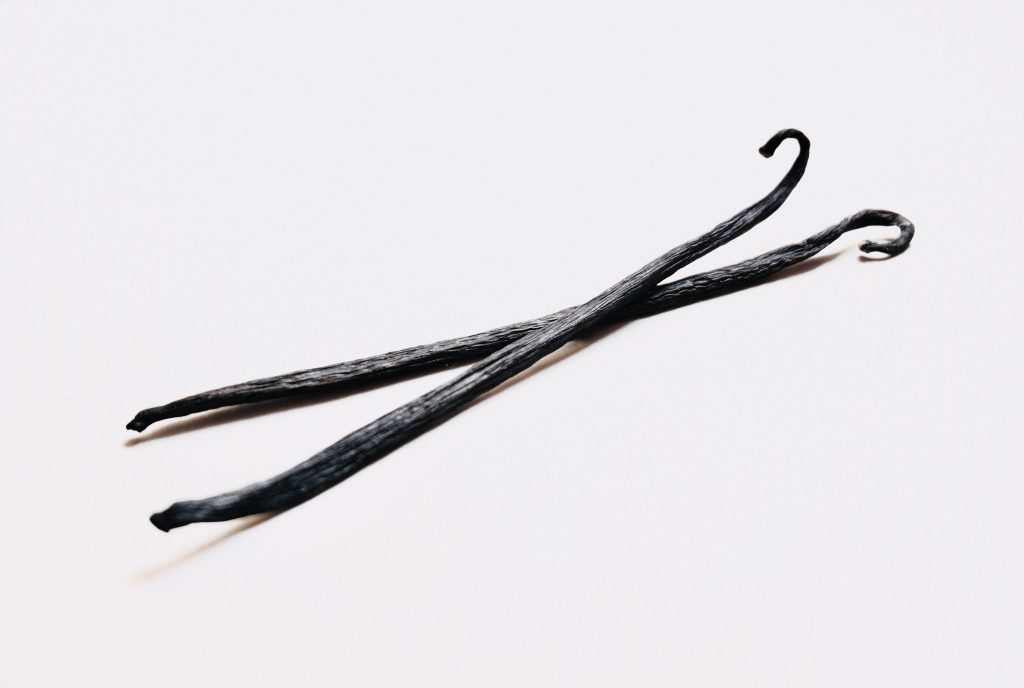
Okay, so if you’re reading this, you’re still here which I’m happy for (everyone needs a buddy to fall into an endless hole with)! So on to how we make our own vanilla extract. Vanilla extract is made using vanilla beans, which are the fruit from orchids of the genus Vanilla, and alcohol. Vanilla beans are long, thin, sometimes plump, fibrous pods that contain a thick, sticky resin that houses thousands of seeds (often referred to as “caviar” due to the similarities in appearance). Vanilla beans contain many different compounds (one of the main ones being vanillin), which combined, produce the aroma and flavor that we have become accustomed to and love. The taste varies depending on species, where they are grown, weather conditions, and how they are harvested and cured. Since taste is subjective, what tastes and smells good to someone, may not be true for others. I plan to write a separate post that is more in-depth on vanilla in the coming months.
To make extract, the vanilla beans are placed into alcohol where the alcohol permeates the bean pods and extracts the vanillin and other flavor compounds out into the alcohol, making vanilla extract. In this recipe we will be making a single-fold batch of vanilla extract. It is possible to make a double-fold or anything in between, what this means is for single fold, we’re using 1 ounce of beans to 8 fluid ounces of alcohol. For double-fold you simply just double the amount of beans, so it would be 2 ounces of beans to 8 fluid ounces of alcohol. This will produce a much stronger flavor, but also cost more. Some people like to make double fold then only use half the amount in recipes. Some people like to make one and a half-fold to enhance it a bit more but not fully go double, I’ve read that the difference is very small or not noticeable between one and a half-fold and double-fold. So this could save you some money but enhance your extract a bit better than normal single-fold.
Now like with all things, everyone has their own thoughts on what the “right” way is to do things. Here I will provide information for, with my current “beanie” knowledge, what I believe to be the best way to make vanilla extract at home. This can of course be modified to fit your needs though the results and extraction time may vary.
Fun Fact: Beanie is the name given to new people within the hobby of all things vanilla!
Equipment & Tools
Kitchen Scale: We will need a scale in order to weigh out the amount of vanilla beans for this recipe. If you are only doing one recipe worth of extract and you bought the exact amount of beans needed then you shouldn’t need this.
Seam Ripper: This is optional but is recommended to help cut open the vanilla beans. Be sure to buy a brand new one solely to be used for this purpose.
Razor Blade: If you plan to cut or split your vanilla beans, having a brand-new razor blade will be helpful.
Strainer: If you choose to strain out just the vanilla beans at the end of the vanilla extraction process but leave the caviar then a strainer will come in handy. Typically the strainer isn’t fine enough to remove the caviar.
Coffee Filter: If you want to remove the caviar, a fine stainless steel mesh coffee filter or fine mesh nylon bag will filter it out, leaving you with just the vanilla extract.
Funnel: Having a funnel for pouring the alcohol into the container(s) will help avoid spillage. Also if you choose to decant your vanilla extract at the end of the process, you don’t want to waste any of that precious vanilla extract!
Storage Container(s): You will need at least a 10 fl oz storage container, whether you want to have a single container or multiple smaller ones. I would recommend just having a single container to make the vanilla extract then you can always decant it, when finished, into smaller containers to use as gifts or personal use. Labeling or tagging the container is important because if you end up making more extracts it may get harder to keep track of what is what, so just save the headache and label your stuff!
Ingredients Needed
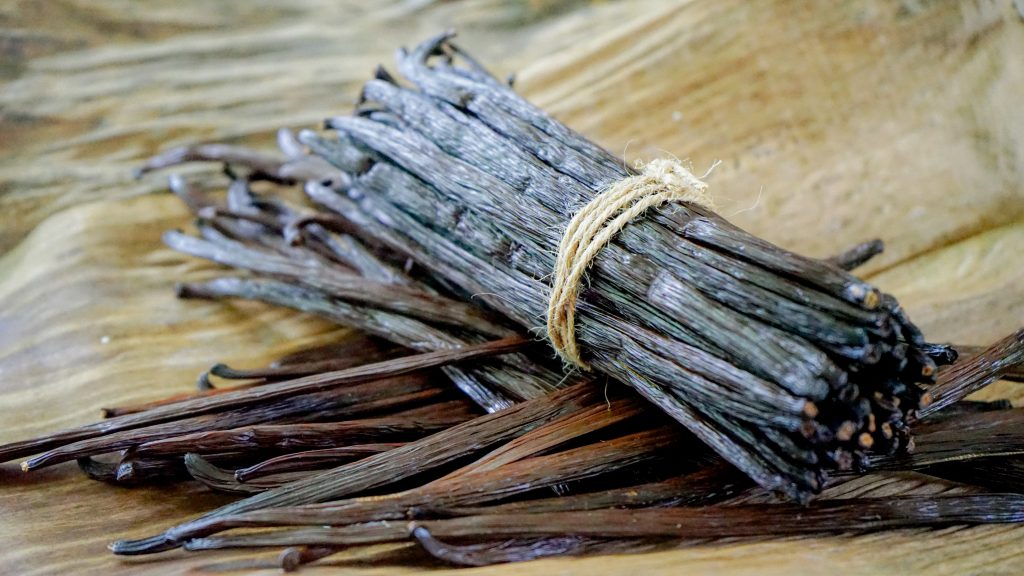
Vanilla Beans: We will be using fresh beans to make single-fold vanilla extract. There are two grades of beans, grade A and grade B. Grade B beans tend to be the go-to grade to make vanilla extract since they have a lower moisture content and typically are cheaper. However, grade A beans could also be used and will be easier to handle if you plan to split them.
I would recommend buying your beans from a reputable co-op to get the most bang for your buck. The one that I’ve used a few times is IndriVanilla but there are several others out there. They are just the first ones that I discovered and have been happy with.
Ordering from a co-op allows you to get the best pricing on vanilla beans since the co-op buys in bulk. However, there are a few downsides to ordering through the co-op. It typically takes longer to receive your beans because you have to “preorder” most of the time. After the order closes, the company will place the bulk order and it will need to ship to them where they break down the orders into individual orders and ship it out to everyone. This could take up to a month or two. Sometimes they already have the bulk order and when they run out, they’re out but good news for you if you’re able to snag beans, the orders typically ship faster to you. Another downside is you are limited to what variant of bean is available, typically only one, maybe two variants are offered at a time.
There is the option of ordering from their online store, however, be prepared to pay a higher cost. A few reasons you may wish to order through the storefront is if you’re looking for specific beans that aren’t available as a current co-op order. They do typically offer some price breaks the more you buy. Another reason may be due to timing and you need vanilla beans quicker than the co-op could provide.
It is extremely important to have a plan for the vanilla beans once you receive them, vanilla beans are fresh produce and are prone to molding quickly.
However, do not store the beans in the refrigerator. If you must store your beans for a period of time then place them into a bit of alcohol so they’re fully submerged, this will prevent them from molding.
Alcohol: There are several alcohols to choose from when you’re making your homemade vanilla, but there are some requirements. As a side note, it is possible to make vanilla extract without using alcohol. Some people choose to go this route for various reasons, I however, haven’t tried making it this way or done much research into it. Vodka is typically what I use in making extract and is recommended for first-time extract makers. The brand of alcohol you use doesn’t matter but the only requirement is that the proof must be between 70-120 proof. A popular affordable vodka is the Kirkland French Vodka. If the proof is too high, you risk drying out and burning the beans. If it is too low, there is the risk of spoilage.
Keep in mind that vanilla is a delicate flavor so using an alcohol that is very strong in taste may overpower the vanilla flavor and the resulting extract could be very alcoholic tasting. If you’re like me and aren’t sure what alcohol to use because you don’t drink at all or very often, I found this helpful chart from IndriVanilla’s Website.
Important: Finished extract will have a taste of alcohol and may not taste very pleasant if tested straight (same as store-bought). The best way to test if your extract is done is to add a little bit to some cream or a sugar cube.
How to Make Vanilla Extract
Weigh the Beans: If you are making multiple recipes of extract or using multiple containers, weigh out the amount of beans you need for each. The beans need to be dry.
Rinse: Use some of the alcohol you will be using to make vanilla extract and rinse off the beans. Much like it is recommended to rinse your produce, sometimes there may be leftover debris/fibers from the harvesting and curing of the vanilla. Note: In the vanilla bean groups this is always a hot topic of debate, whether to rinse your vanilla beans or not, I choose to rinse but this is up to personal preference.
Prepare Beans: There are several ways people like to prepare vanilla beans, and each has their pros and cons. Depending on what you plan to use the extract for, you may choose to do a variety of the below or just one, whichever suits your needs. Some people don’t like having the caviar in the finished extract, I however love having the caviar in the extract since to me it shows it is real vanilla.
- Leave Whole – This method takes the longest time for extraction due to the alcohol having to permeate the bean and infuse through it before getting to the inside of the bean.
- Pros: Leaving the bean whole makes it easier to later use the bean in a recipe. The caviar will also remain inside the bean and not be in the finished extract. Some choose to include a whole vanilla bean in their finished extracts if they are giving it away as gifts.
- Cons: Takes the most amount of time for extraction (12 months+). Depending on the jar being used to extract in, it may make it more difficult to insert/remove the beans. Some people like to extract in certain bottles due to aesthetics and sometimes they have small openings.
- Cut Off The Tips – This method involves cutting off the tips of the bean (about 1/4-inch), it helps to allow the alcohol an easier access into the inside of the bean which helps in the extraction process due to the alcohol being able to fully surround the bean.
- Pros: Speeds up extraction time slightly and makes it easier to split the bean length-wise.
- Cons: Caviar will end up in the finished vanilla extract unless strained out.
- Cut In Half / Pieces – Some vanilla beans can be very long, which makes it hard to submerse the bean in alcohol, cutting the beans in half or into pieces helps them fit into the storage container.
- Pros: Will fit into narrow-necked bottles easier, if using. Provides the alcohol an access point to the inside of the bean for a slightly faster extraction.
- Cons: Makes it harder to use in recipes that call for whole beans.
- Split Lengthwise – Splitting the bean lengthwise is easiest when using a seam ripper or razor blade. You can choose to completely split the bean into two halves or may choose to just split it up one side. It is best to split the bean on its natural edge instead of down the middle of the bean. Splitting the bean on the edges allows the bean to stay open once placed into the container.
- Pros: Significantly speeds up extraction time.
- Cons: Caviar will end up in the finished vanilla extract unless strained out. These beans may be able to be used in recipes calling for vanilla caviar, however much of the caviar may be removed from the extraction process.
- Split & Scrape – This is the best method if you’re wanting to make vanilla extract in the shortest amount of time. Splitting and scraping the caviar out of the beans allow the alcohol the most surface area to permeate the bean pod from all sides. Scraping the caviar removes the membrane and exposes the fibers of the pod which also aids in extraction.
- Pros: Fastest extraction time of all the methods (4 months+).
- Cons: Caviar will end up in the finished vanilla extract unless strained out. These beans cannot be used in a recipe that calls for a whole vanilla bean to scrape since the caviar will be in the extract instead of inside the bean.
Place Into Container: Put the beans and caviar (if scraped) into the storage container.
Shake Container: Every day for the next couple of weeks make a point to shake the container. This will help move the alcohol around the beans and stir them up. If you forget a couple of days, that’s okay and just shake it when you think of it or set an alarm for yourself. Shaking the container will help speed up the process.
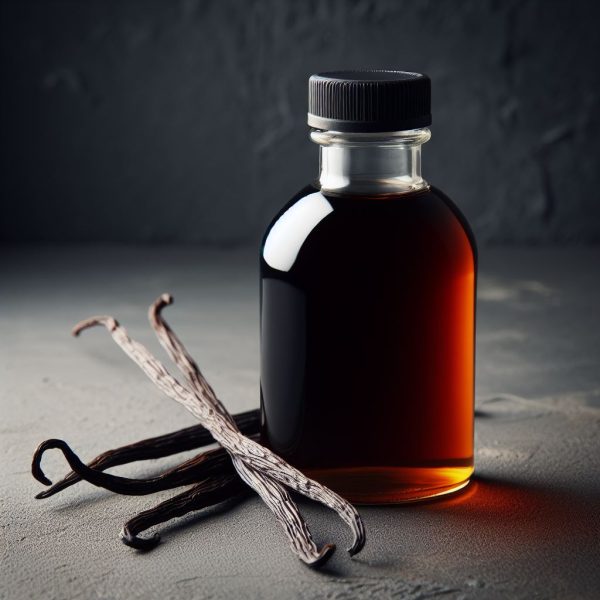
Finished Extract: Depending on the method you chose to prepare the beans, after an extended amount of time (4 to 12 months) you can start to test the extract to see if it is completed. The best method to do this is to add a bit of extract to some whipped cream, cream, or a sugar cube. The vanilla is done when you’re satisfied with the taste of the vanilla, the longer you let the beans extract, the stronger the flavor typically. Never taste straight extract as it typically is unpleasant.
Decant (Optional): You may have made your extract in a larger container and wish you decant it into smaller containers or strain out the spent vanilla beans and caviar. Using a strainer will strain out the vanilla beans and if you wish to strain the caviar, use a reusable coffee filter or fine mesh nylon bag.
FAQ’s
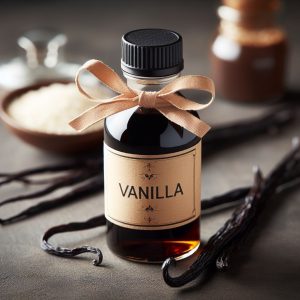
Homemade Single-Fold Vanilla Extract
*Note: Calories and cost is estimated, if provided.
Equipment & Tools
- Kitchen Scale
- Seam Ripper (optional, helpful to cut the beans lengthwise if you choose)
- Razor Blade (optional, helpful to cut the beans, if you choose)
- Strainer (optional, if you want to remove the beans at the end of extraction)
- Coffee Filter (optional, if you want to remove the caviar)
- Funnel
- 10 fl oz Storage Container(s) , with label or tag
Ingredients
- 1 oz Vanilla beans , fresh (see notes)
- 8 fl oz Vodka or Rum, 70-90 proof (plus a little extra, see notes)
Instructions
- Weigh out 1 oz Vanilla beans.
- Use some of the alcohol you will be using to make extract and rinse off the beans. Much like rinsing produce, this will remove any foreign objects such as hair or fibres leftover from the harvesting and curing of the beans.
Prepare Beans
- Choose one or more methods below (listed from slowest extraction time to fastest):Leave Whole – This method is the longest (12 months+). Cut Off the Tips – Using a new, clean razor blade, cut off both tips of each bean. Cut in Half / Pieces – Sometimes beans can be very long which makes it difficult to add to certain containers, cutting them in half or into pieces help. Use a razor blade or other sharp utensil to cut the beans into two pieces or more.Split Lengthwise – This method is best paired with also cutting the tips off for ease of access and prep. Using a seam ripper or razor blade, cut the bean along the natural edge. This will allow the bean to remain open (flat) when placed into the container versus it wanting to bend back into shape if you were to cut it down the middle. If you use a razor blade, it is easiest to cut the tips of the bean off then run the blade through the bean keeping it parallel.Split & Scrape (recommended) – This method is the fastest extraction of all the processes (4 months+). Here you will use cutting of the tips, and splitting it lengthwise in addition to scraping the seeds aka "caviar". To scrape out the caviar, you will want to either use the razor blade or another utensil to scrape the inside length of the beans to get the caviar out. Place the tips, beans and caviar into the container.
- Place everything, beans, tips and caviar into the storage container.
- Add the 8 fl oz Vodka and seal. Give the container a good shake.
Extraction
- Label the container, don't skip this! It's easy to think you'll remember, but if you end up making more extractions and months later, they could very well get mixed up without proper identification.
- Store the container in a safe location, preferably where it will be easily visible to you for the next couple weeks. Every day, give the container a shake to help move the alcohol around the beans. If you miss a few days, that's okay, this just helps speed up the extraction time.
Finished Extract
- The extraction time will vary from batch to batch and is based on the bean preparation method you chose in addition to the alcohol and how often the container was shaken. The easiest way to know when the extract is done is to place a drop or two into some cream or on a sugar cube. Note: Never taste straight extract as it typically is unpleasant.
- If the extract tastes good to you, then it is done! If not, continue letting it extract and retest in a few weeks or a month to see how it is coming along.
- Once finished, you may choose to strain out the vanilla beans and caviar. However, it is personal preference and some people choose to leave it as is and just use the extract in the container it is in without removing anything. Some will choose to decant it into smaller bottles if a large batch was made for themselves or to gift to others.
Straining Beans & Caviar (Optional)
- Vanilla Beans – Use a strainer positioned over another container to catch the vanilla extract to strain out the vanilla beans.
- Squeeze the vanilla beans to remove as much extract as possible, unless you wish to use them for something else.
- Caviar – If you split or cut your beans and wish to additionally strain out the caviar from the vanilla extract, let the extract settle for a few minutes after removing the beans (so the caviar settles to the bottom).
- After a few minutes, slowly pour the extract through a fine mesh coffee filter or mesh bag. Using a spatula, move the caviar around the mesh to get as much of the extract through the filter.
Decant (Optional)
- Using a funnel, pour the finished vanilla extract into your final storage bottles. Some people choose to then add back a few of the vanilla beans for aesthetics and/or split the caviar evenly among the storage bottles for consistency.
Notes
- Single or Double-Fold: Single fold is just the base formula, of using 1 ounce beans to 8 fl oz of alcohol. Double-fold is doubling the amount of beans to alcohol, so 2 oz beans to 8 fl oz alcohol.
- Vanilla Beans – Grade B beans tend to be the go to grade to make vanilla extract since it has a lower moisture content and tend to be cheaper. However, grade A beans could also be used and will be easier to handle if you plan to split them.
- Alcohol – Vanilla is a delicate flavor so using an alcohol that is very strong in taste may overpower the vanilla flavor and the resulting extract could be very alcoholic tasting. If you use rum, the infusion time may take longer depending on bean preparation. If the proof is too high, you risk drying out and burning the beans. If it is too low, there is risk of spoilage.
Once your extract is finished, try it out in some of these recipes!
Subscribe
Enjoying our content? Stay up to date on all of our latest posts, subscribe now to receive an email every Friday with our new posts of the week!
